Keep It Private: How to Record Your Screen Without Sharing Your Notifications | Tech Info
Picture this: You are in the middle of recording a flawless tutorial for your team or creating a video demo for an important client. You are on fire, speaking clearly, and everything is going perfectly. Then, suddenly—*ding!*—a notification pops up in the top-right corner of your screen. It is a private text message from a family member, or a sensitive Slack message from a coworker about a private project.
Just like that, your perfect recording is ruined. You either have to spend tedious minutes editing it out in a post-production app, or worse, start the entire recording all over again. It is frustrating, time-consuming, and entirely avoidable.
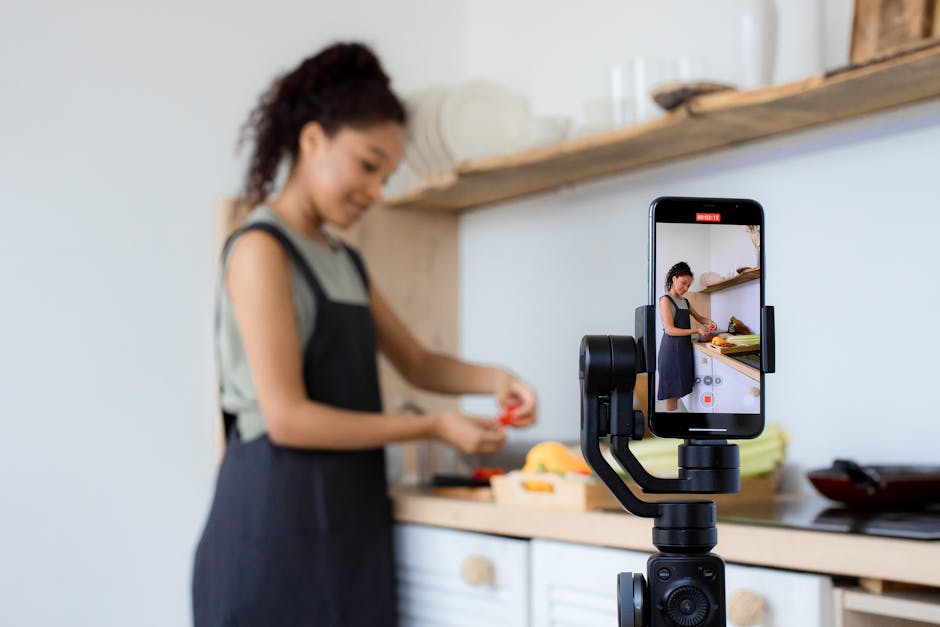

You do not have to risk your privacy every time you want to share your screen. Today, we are going to look at some incredibly simple, stress-free ways to keep your private notifications private while recording your screen.
1. Embrace "Do Not Disturb" Mode
Both Windows and macOS have built-in features designed specifically to give you some peace and quiet. Turning these on before you start recording is the absolute easiest way to block incoming notifications from sliding onto your screen.
If you are on a Mac, simply click on the Control Center icon in the top-right corner of your menu bar, click "Focus," and select "Do Not Disturb." On Windows, look for the notifications icon in the bottom-right corner of your taskbar and toggle on "Focus Assist" or "Do Not Disturb." This instantly stops those pesky banners from sliding into your video and distracting your viewers.
2. Record a Specific Window, Not Your Entire Desktop
Most screen recording tools—like OBS Studio, Zoom, Loom, or Camtasia—give you the choice between recording your entire desktop or just a single, specific application window. Whenever possible, choose to record only the active window you need.
By choosing "Window Capture" instead of "Display Capture," your recording software will only look at that specific app (like your web browser or PowerPoint). Even if a private message pops up on your screen, the recording software won't capture it because the popup is technically outside the boundaries of the selected application window. It is an instant privacy shield!
3. Use a Dedicated "Clean" Browser Profile
If you are recording a web-based demo, your browser bookmarks, search history, and browser extensions can sometimes leak personal information. To avoid this, open a guest window or create a dedicated "recording profile" in Google Chrome, Microsoft Edge, or Brave.
A clean profile acts like a brand-new browser. It won't have your personal email logged in, it won't show your autofill suggestions when you type in a URL, and it won't display desktop notifications from your personal web apps. Plus, a clean browser window looks highly professional to your audience.
Quick Tips for Bullet-Proof Recording Privacy
Before you hit that red record button, run through this quick checklist to make sure your private life stays private:
- Quit background communication apps: Don't just minimize apps like Slack, Discord, Teams, or WhatsApp. Completely quit them (right-click the app icon in your taskbar or dock and select "Quit") to ensure no sneaky alerts slip through.
- Clean up your desktop: Temporarily hide your desktop icons. A cluttered desktop not only looks messy but might also display sensitive file names that you don't want others to zoom in on.
- Check your desktop wallpaper: If your wallpaper is a personal family photo, consider changing it to a neutral, professional background before you start your recording session.
- Do a quick test run: Record a quick five-second test video. Practice sharing your screen and opening your windows to ensure nothing unexpected shows up on camera.
Ready, Set, Record!
Protecting your digital privacy doesn't require advanced video editing skills or expensive software. By taking just thirty seconds to turn on Do Not Disturb or adjusting your recording boundaries, you can create clean, professional videos without any awkward surprises. Give these tips a try on your next recording, and enjoy a stress-free screen sharing experience!
Post a Comment